Factory Reset Google Home: A Step-by-Step Guide
*We may earn a commission for purchases made using our links. Please see our disclosure to learn more.
Factory Reset Google Home: A Step-by-Step Guide
How to factory reset Google Home device is a straightforward process that users may need to undertake for various reasons. Whether to resolve technical issues, clear personal data before transferring ownership, or to start fresh with the device’s settings, understanding how to perform this reset is essential. It is a simple, though impactful, procedure whenever a Google Home, Home Mini, Home Max, or Nest Mini appears to malfunctions or requires a clean slate.

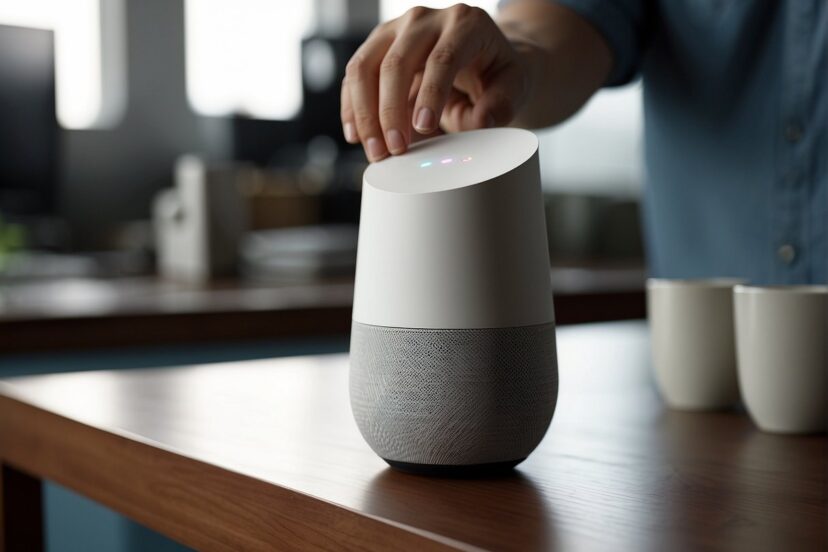
The process requires physical interaction with the device, typically via the mute button or the touch-sensitive top of the Google Home. It’s designed to be user-friendly, requiring only a few seconds to initiate. Once completed, all personal settings, configurations, and data will be erased from the device, returning it to its original state when it first came out of the box. It’s important to note that this action is irreversible, so ensuring that data backup is complete before proceeding with a reset is crucial for a smooth experience.
Understanding Factory Reset

Factory reset is a crucial function that restores Google Home devices to their original settings. It’s an integral part of managing and troubleshooting smart home devices, ensuring they perform optimally.
Factory Reset Basics
Factory reset, as the term implies, restores a device back to the settings it had when it left the factory. For Google Home devices, this process involves erasing all data to address various issues that can’t be fixed through normal troubleshooting methods. Here’s how it works:
- Data Clear: All personal information, including Wi-Fi details and linked accounts, is permanently deleted.
- Irreversible Process: Once a factory reset is initiated, it cannot be undone. It’s crucial to ensure that any important information is backed up before proceeding with a reset.
When to Perform a Factory Reset
I should consider performing a factory reset on my Google Home devices in certain situations. These circumstances usually involve persistent and unsolvable operational issues. Here’s when a factory reset is appropriate:
- Troubleshooting: If my Google Home is unresponsive or encountering frequent errors, and standard troubleshooting steps fail, a factory reset might be necessary.
- Preparation for Sale: Before selling or giving away my device, a factory reset ensures all my personal data is removed.
- After Updates: Occasionally, a major update could cause issues that necessitate a reset to achieve proper functionality.
Remember, factory resetting should be my last resort after all other troubleshooting methods have been exhausted.
Preparing for Factory Reset

Before initiating a factory reset on a Google Home device, I ensure that all valuable data is backed up and account information is verified to prevent any loss of personal preferences or important data associated with my account.
Backing Up Data
I always start by reviewing the data associated with my Google Home devices to determine what needs to be backed up. This includes personalization’s, routines, and other configurations that have been set up over time. There’s no direct method to back up this data from the device itself, but I can:
- Recheck Routines: Note down any customized routines that I’ve created within the Google Home app to easily replicate them after reset.
- Document Settings: Write down my device settings and preferences.
- Review Linked Services: Make sure to have a list of third-party services linked to my Google Home for easy reconnection post reset.
Checking Account Information
Before proceeding with the factory reset, I double-check my Google Account to ensure that it’s the one I’ve been using to manage my Google Home. It’s crucial to know which account holds my preferences and personal data. Here’s my process:
- Verify Account Details: I visit the Google Home app to confirm that my device is linked to the correct Google account.
- Check Personal Information: Ensure that all personal information tied to my account is current and accessible post-reset.
- Acknowledging Account Recovery Options: I make sure the recovery options for my Google account are up-to-date to avoid being locked out after the device has been reset.
Factory Resetting Your Google Home Device

I’ll guide you through the specific steps involved in performing a factory reset on your Google Home devices. It’s important to know that factory resetting will erase all the data and restore the device to its original settings.
Reset Google Home Mini/Max
For the Google Home Mini or Home Max, the reset process involves using the device’s built-in factory reset button.
- Locate the factory data reset button on the bottom of the Home Mini or on the back of the Home Max.
- Ensure the device is powered on.
- Press and hold the factory reset button for 15 seconds.
- On the Home Mini, look for a circle etched into the base.
- On the Home Max, simply find the button at the back.
- Listen for a chime that indicates the device understands the command to reset.
- Continue to hold until the reset process begins.
The device’s lights will display a pattern or sequence to indicate that the reset is in progress.
Reset Google Nest Devices
For Google Nest devices including the Nest Hub and the Nest Mini, the procedure to reset them differs slightly depending on the model.
Nest Hub:
- Locate the volume buttons at the back of your device.
- Press and hold both the volume up and volume down buttons together for about 10 seconds.
- Wait for the assistant to tell you the device will be reset.
The device will display the reset process and boot back into setup mode.
Nest Audio:
- Press and hold the center of the Nest Audio, near the top, for 5 seconds to initiate the reset.
- Continue to hold for about 10 seconds until a sound confirms the reset.
- Look for the factory reset button next to the power cord on the bottom of the device.
- Press and hold this button for a duration of 15 seconds.
Remember that you can’t use voice commands or the Google Home app to reset Nest Audio or Nest Mini.
These steps will return your Google Nest devices to the state they were in when you first took them out of the box, ready for a fresh setup process. It’s important to only perform a factory reset if you’re certain you want to clear all data and configurations from the device.
After the Reset: Setup and Configuration

Once I have successfully reset my Google Home device, I am ready to start afresh with setting it up and customizing its configuration to meet my needs.
Reconnecting to Wi-Fi
My first task is to get my Google Home device back on my Wi-Fi network. I ensure my phone or tablet is connected to the Wi-Fi network I intend to use. I open the Google Home app on my device, find the plus sign (+) in the upper left corner, and select “Set up device.” The app guides me through the process, where I select the device I want to set up and pair it with my Wi-Fi network by entering the network password when prompted.
Setting Preferences and Routines
After reconnecting to Wi-Fi, I navigate through the Google Home app to personalize my device settings. I start by customizing my preferences like setting my default music service, such as Spotify or Pandora. By going to “Settings” then “Music,” I can link my accounts and choose my preferred service.
For setting up routines, I tap “Routines” in the app, allowing me to create custom actions that my Google Home will execute with a single command. I can configure morning routines that turn on my lights, read the news, and play music, or bedtime routines that lower the thermostat and play calming sounds. This streamlines my interactions with smart technology and enhances my daily life, all customizable within the app. I can trigger the routines I set up by voice or schedule them at specific times.
Frequently Asked Questions

In this section, I cover the most common queries regarding the factory reset process for various Google Home devices. Each subsection provides clear, step-by-step instructions tailored to different models.
1. What are the steps to perform a factory reset on a Google Home Mini?
To reset a Google Home Mini, press and hold the factory data reset (FDR) button located on the bottom of the device for about 15 seconds until you hear a sound confirming that the device is resetting.
2. Can you guide me through resetting a Google Home Hub to its original settings?
To reset a Google Home Hub, hold down both the volume up and volume down buttons on the back of the device for about 10 seconds. The screen will prompt you to continue with the reset.
3. What is the procedure for factory resetting a Google Nest Audio device?
For a Google Nest Audio, you’ll find the factory reset button near the power cord, at the base of the device. Press and hold this button for about 5 seconds until the assistant confirms that the device is resetting.
4. How can I reset the Wi-Fi settings on my Google Home?
Open Home app, select device, tap Wi-Fi, and choose ‘Forget this network’ to reset Google Home Wi-Fi settings. You can then reconnect to your preferred network through the app.
5. What should I do to reset my Google Nest Mini if it doesn’t have a button?
Press and hold the Google Nest Mini’s center for 15 seconds to initiate a reset where the lights are.


