Smart Home Installation – Getting Started
*We may earn a commission for purchases made using our links. Please see our disclosure to learn more.
Smart Home Installation: Your Ultimate Guide to a Connected Home
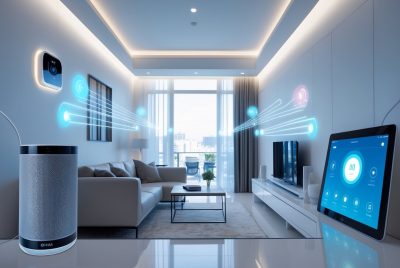
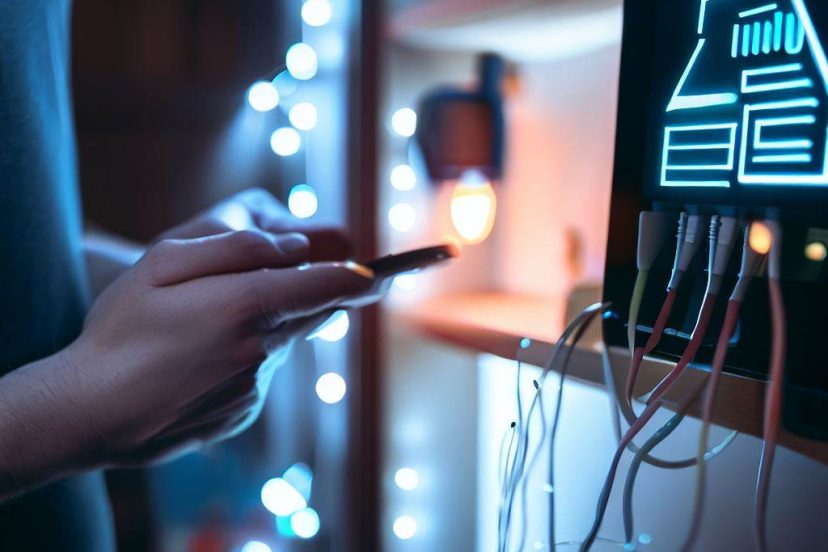
Stepping into the realm of smart home technology can transform the way I interact with my living space. Smart home installation encompasses a range of devices such as video doorbells, Wi-Fi cameras, smart thermostats, automated lighting systems, and much more. For someone like me, who values both convenience and the safety provided by home automation, it’s crucial to understand the installation process and the options available.

When I begin my journey into smart home installation, the primary focus is usually on ensuring a strong and reliable Wi-Fi network as the backbone. Most smart home devices rely upon this connectivity and typically operate on the 2.4 GHz frequency due to its broader range, though some also use the 5 GHz frequency for faster data transfer. The choice of smart home platform is equally important, as it determines how different devices communicate and work together in unison.
Once this foundation is in place, installing individual devices can start. A professional installation may be a good investment, as companies like Best Buy and Lowe’s provide services where licensed and insured installers can set everything up for me. This option often comes with added benefits such as a free home consultation and warranty. However, I can also opt to install simple devices myself by following manufacturer instructions and expert tips, creating a customizedsmart home setup that caters to my preferences and lifestyle.
Planning Your Smart Home Setup

Before diving into the details of your smart home, it’s important to ensure you have a robust foundation for your setup. This involves selecting a central hub, understanding your Wi-Fi requirements, and choosing the right mix of smart home devices.
Choosing the Right Hub
When establishing my smart home, the hub is the cornerstone that allows all other devices to work in harmony. I always choose a hub compatible with various protocols to guarantee maximum flexibility. The hub acts as the nerve center, connecting with my smartphone and enabling centralized control of the entire smart home ecosystem. With the right hub, I can integrate new devices effortlessly as my smart home evolves.
Understanding Your Wifi Needs
Wi-Fi connectivity is pivotal in a smart home setup. My router must support current Wi-Fi standards and offer a strong, reliable signal to accommodate all smart devices. If my house is large or has multiple levels, I might consider investing in a mesh system to extend Wi-Fi coverage. It’s also critical to ensure that my Internet Service Provider (ISP) offers a plan that can handle the bandwidth required for a growing number of smart devices.
| Consideration | Details |
| Wi-Fi Standard | Ensure router supports Wi-Fi 5 (802.11ac) or Wi-Fi 6 (802.11ax) |
| Mesh System | Assess if I need to expand coverage to eliminate dead zones |
| ISP Bandwidth | Confirm that my ISP plan can manage multiple device connections |
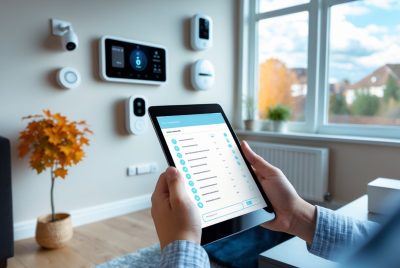
Selecting Smart Home Devices
When choosing smart home devices, I focus on compatibility with my hub and connectivity standards. I opt for devices that can seamlessly integrate into my existing smart home ecosystem, ensuring they can be easily managed from my smartphone. From smart locks to light bulbs, I look for products offering reliable performance and the necessary features to meet my specific needs. I carefully select each device to enrich my daily routine and bolster my home’s security and efficiency.
- Device Compatibility: Must work with my hub and smartphone
- Connectivity: Preferably devices that support Wi-Fi for remote access and control
- Features: Tailored to my lifestyle and the functionality I desire from my smart home
Installation Procedures

In setting up a smart home system, I follow specific steps to ensure that all devices work together seamlessly. My approach focuses on three key areas: the central hub, individual device installation, and network setup.
Setting Up the Hub
Hub Choice: The first thing I do is select a central hub—the brain of the smart home. It’s important to choose one that supports a wide range of devices, ensuring an expansive ecosystem. Once I have the hub, I plug it in and use the corresponding app to complete the setup process.
Routine Automation: After basic setup, I create routines for automation. For example, I can automate smart lighting to dim at sunset or set smart thermostats to adjust the temperature at bedtime.
Installing Smart Devices
Smart Locks and Lighting: I install smart devices by starting with smart door locks and lighting, as they are integral to home security and energy management. Carefully following the manufacturer’s instructions, I install each piece of hardware, whether it’s replacing a standard door lock with a smart lock or installing smart switches for lighting.
Speakers and Thermostats: For smart speakers and thermostats, I ensure that placement maximizes their efficiency and coverage. I position speakers in central locations for optimal sound distribution and voice command detection. Smart thermostats are placed away from drafts and direct sunlight for accurate temperature control.
Configuring Network and Connectivity
Wi-Fi Network: A strong Wi-Fi network is crucial. I often recommend a mesh network to ensure reliable connectivity across the home. The mesh system provides wider coverage, making it ideal when I’m setting up smart devices in different rooms.
Smart Appliance Connection: Connecting smart appliances involves integrating them into the network. I make sure each device is in range of the Wi-Fi signal and connect them through their respective apps for centralized control.
By carefully addressing each of these steps, I establish a robust and efficient smart home setup. This methodical approach guarantees support for a variety of smart devices, from thermostats to locks, and creates a comfortable, automated living environment.
Maximizing Home Security and Privacy

In my experience, laying the foundation for robust home security and privacy involves focusing on critical technologies such as surveillance cameras, advanced lock systems, and a secure Wi-Fi network. These components work synergistically to reinforce the safety of your home.
Implementing Surveillance Cameras
Security cameras, including smart cameras and video doorbells, are essential in my smart home security setup. To maximize their effectiveness:
- Position cameras at all entry points and high-traffic areas.
- Ensure cameras have encrypted signal transmission to safeguard footage against interception.
- Opt for cameras with motion detection and night vision capabilities.
Enhancing Lock Systems
Smart locks provide a significant upgrade to traditional locks, offering both convenience and enhanced security. Recommendations include:
- Using locks with biometric features (such as fingerprint recognition) to minimize the risk of unauthorized access.
- Integrating locks with home automation systems, allowing for remote monitoring of entry points.
Securing Your Wi-Fi Network
The Wi-Fi network is the backbone of a smart home and its security is paramount. Here are steps I take to secure my network:
- Change default router passwords to something unique and complex.
- Set up a guest network for smart home devices to isolate them from my main network.
- Regularly update firmware of routers and connected devices to patch vulnerabilities.
Integrating Voice Control and Automation

In this section, I will guide you through setting up your voice assistant and how to automate daily tasks effectively. I will focus on leveraging devices like Google Home, Amazon Alexa, and Siri to create a responsive smart home environment.
Voice Assistant Setup
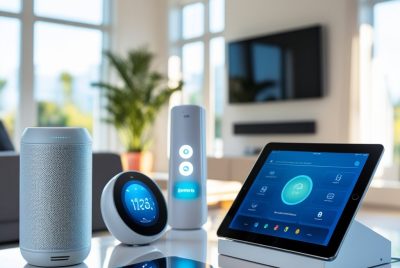
To start with voice control in your home automation, you first need to choose a voice assistant that aligns with your existing devices and preferences. Google Assistant, Amazon Alexa, and Apple’s Siri are prominent players in the ecosystem. Here’s how to get started:
- Select a Voice Assistant: Choose based on the compatibility with your smart home devices and the ecosystem you’re invested in—Google, Amazon, or Apple.
- Acquiring the Hardware: Purchase a smart speaker or a smart display such as Google Home, Amazon Echo, or Apple HomePod.
- Installation: Connect the device to your Wi-Fi network, download the respective app on your tablet or smartphone, and follow the on-screen instructions to complete setup.
- Pairing Devices: Use Bluetooth or Wi-Fi to connect other smart home devices like Nest thermostats or smart lights. Make sure they’re compatible with your voice assistant.
Automating Daily Tasks
Daily tasks can be streamlined through the power of voice commands and routines. Automation involves a chain of actions triggered by a single command or schedule:
- Creating Routines: Configure custom routines within your voice assistant app. For example, a “Good Morning” routine could turn on your lights, read the news, and start your coffee maker.
Routine Name Actions Triggered Good Morning Turn on lights, read news, etc. Good Night Dim lights, lock doors, etc. - Smart Sensors: Install sensors that can trigger actions like turning on lights when motion is detected or adjusting the temperature when you’re nearby.
- Voice Commands: Use specific phrases to trigger automated tasks. Saying “Turn on the living room lights” or “Adjust the temperature to 70 degrees” can instantly activate your devices.
By carefully setting up your voice assistant and automating daily tasks, you establish a powerful order within your home that operates seamlessly with your vocal instructions.
Troubleshooting and Support

When setting up a smart home, encountering technical issues is common, but I know swift solutions can minimize downtime. Connectivity is a primary concern; hence the first step in troubleshooting is to ensure your network infrastructure is sound. I check that the router delivers optimal performance and Wi-Fi signals are robust throughout the premises, utilizing mesh networks or extenders if necessary.
Proactive measures involve keeping all devices firmware updated to the latest version. I find this prevents many issues related to compatibility and security.
In instances of connectivity problems with smart devices, I restart them and the router, a simple yet effective step. Some specific challenges may require me to reset the smart device or re-pair it with the network. It’s crucial to familiarize myself with the device’s manual as manufacturer instructions are invaluable.
In case of more complex issues, I don’t hesitate to contact customer service for support. As a tech enthusiast, I’m keen on resolving problems myself, but professional help can often save time. Customer service has access to resources and diagnostic tools that can pinpoint issues quicker.
For post-installation support, Best Buy and other smart home companies offer services to ensure devices work harmoniously within the smart ecosystem.
Below is a troubleshooting checklist I follow for common smart home setup challenges:
- Network Stability:
- Restart router
- Check for signal extenders
- Device Updates:
- Confirm latest firmware
- Device Functionality:
- Reboot smart devices
- Re-pair to network if needed
- Professional Support:
- Contact customer service or professional installers when necessary
With the right approach, I can efficiently address most smart home troubleshooting scenarios.
Frequently Asked Questions
In this section, I will address some common inquiries about smart home installation, discussing aspects such as cost, installer responsibilities, the process of converting a traditional home, essential components, choosing a service, and necessary qualifications for installers.
1. How much does a smart home installation typically cost?
The cost of smart home installation can vary widely based on the scale and complexity of the system. A basic setup could start under $100, with more advanced systems, including multiple devices, potentially costing several thousand dollars.
2. What are the duties of a smart home installer?
A smart home installer’s primary responsibility involves configuring various home automation devices, ensuring they communicate effectively with one another, and teaching the homeowner how to use the system efficiently.
3. What steps are involved in converting my home into a smart home?
Converting to a smart home typically includes planning the system layout, installing smart devices like lights and thermostats, configuring a central hub, and connecting all devices to the hub and the home network.
4. What are the essential components to set up a smart home?
Essential components for a smart home setup generally include a central hub or controller, smart sensors, automated lighting, smart locks, climate control devices, and sometimes home security systems.
5. What training or qualifications are required to become a smart home installer?
Becoming a smart home installer typically requires technical training in home automation systems, network connectivity, and sometimes, certifications from manufacturers or industry organizations such as the Custom Electronic Design & Installation Association (CEDIA).